


The DIY bug strikes again. I've been using a regular old rectangular sleeping bag for top insulation the past few months. Zipping the zipper was an exercise in aerobic aggravation that I just didn't need at bed time and when I zipped it part way down to use it like a top quilt I usually ended up pushing the zipper the rest of the way down. Managed to stay warm just fine the first couple of times but not so much the last time out. At that point I decided it was time to do something different.
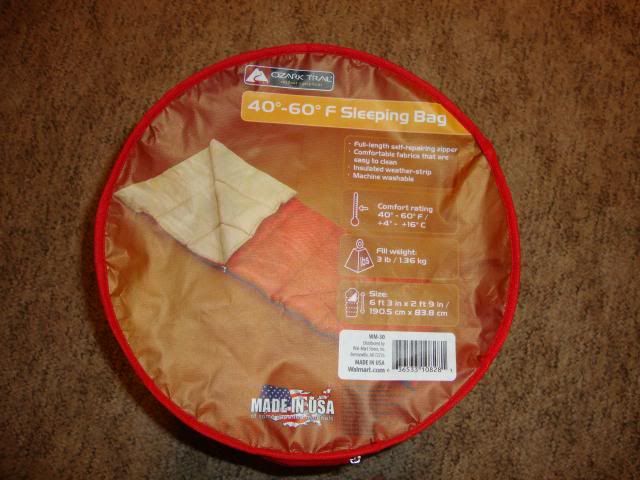
I really didn't want to mod that particular sleeping bag and I'm not quite brave enough (yet) to take scissors and thread to my Kelty mummy bag...so what to do? I remembered someone mentioning last week or the week before that Wally World has some of their store brand sleeping bags for about $10 on-line with free shipping. I looked at their bags at the store and found what I thought was the same bag. Looked reasonably small and not too terribly heavy (for a synthetic rectangular bag anyway) but cost a bit more than twice as much as what I saw on their website. I figured I could save a few bucks by ordering one. Also figured if I ordered one and ended up screwing it up I was only out 10 bucks, so why not?!
When the bag arrived last week the first thing I noticed is that it wasn't the same bag...the bag I received was definitely heavier and bulkier...but for $10, what the heck...if nothing else it would make a good car camping quilt.
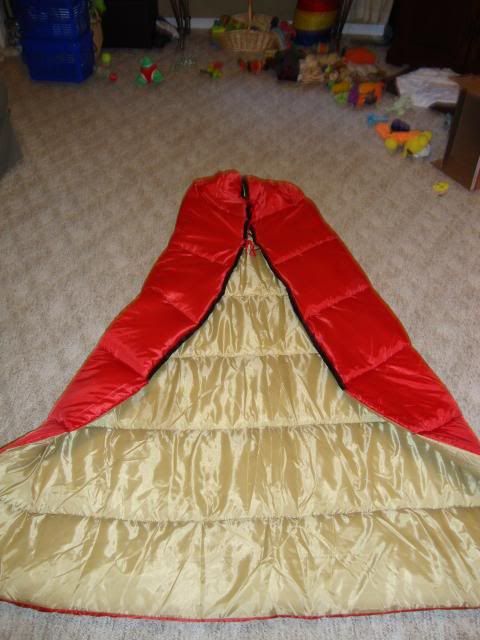
As I was getting set to do the demo work and remove the zipper I noticed that the zipper was sewn to the exterior shell and not into one of the side seams...cool, zipper demo just became a bit more tedious but it left me with a clean side seam that i didn't have to repair...
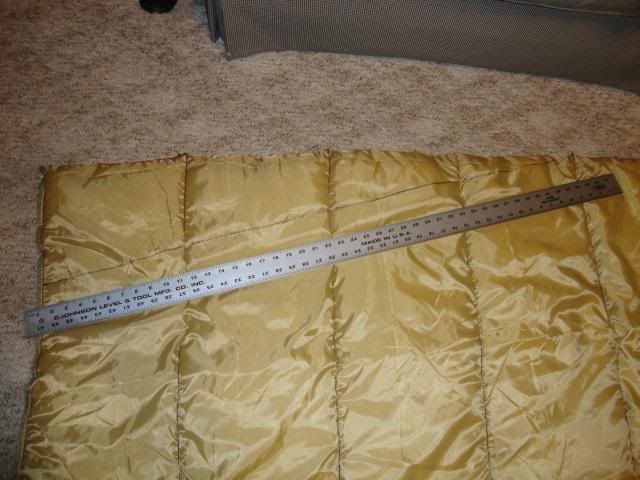
My intent was to taper the foot end and install a channel and drawstring to close up the foot. With the zipper out of the way I marked off the tapers and sewed a line of stitching along each taper line to keep the guts together once the tapers were cut...
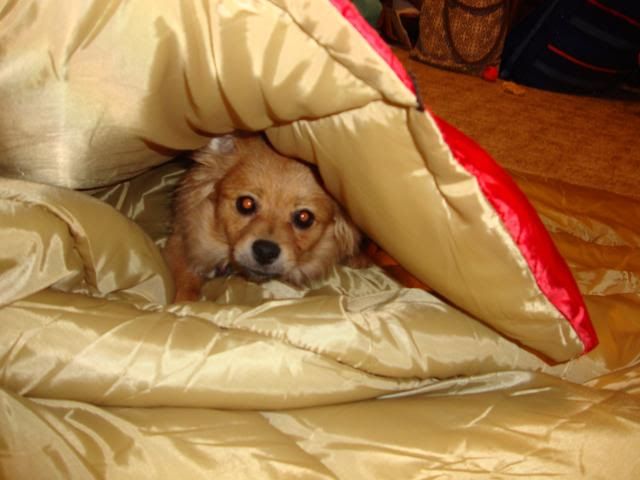
As I usually do when working on a project in the floor, I had some help...
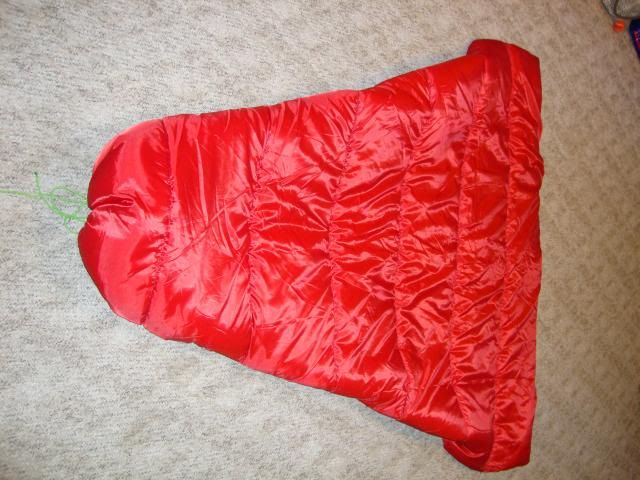
After the tapers were cut I finished the edges and made the channel with 1.5-inch grossgrain ribbon. Looking back, I should have used 2-inch as it would have covered the rough edges a bit better and would have been a bit easier to sew...so I mentally stored that tidbit away for for next time. I decided not to sew the bottom side shut in case I ever decided I wanted to use the quilt as a blanket (May eventually change this) so I added some 1/4-inch grossgrain ties to secure the footbox.
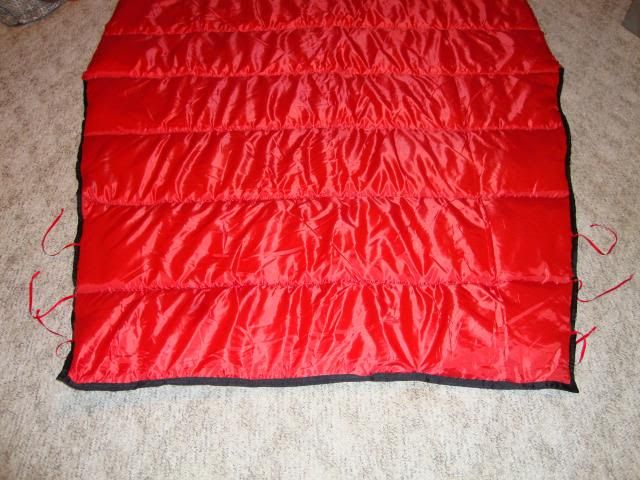
The drawstring in the channel was some utility cord that I had on hand. All in all I was pretty pleased with the result...
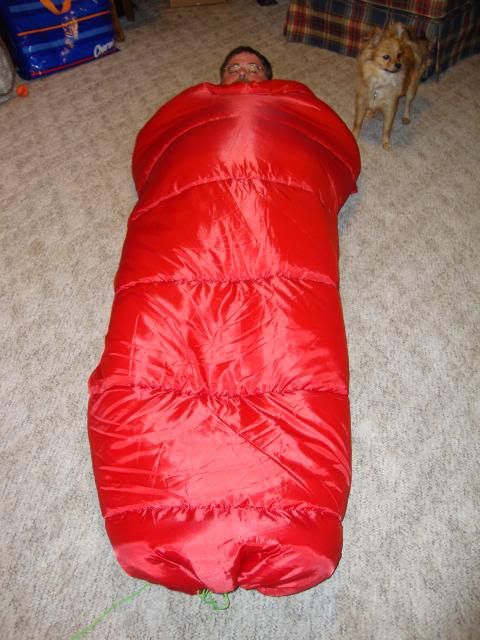
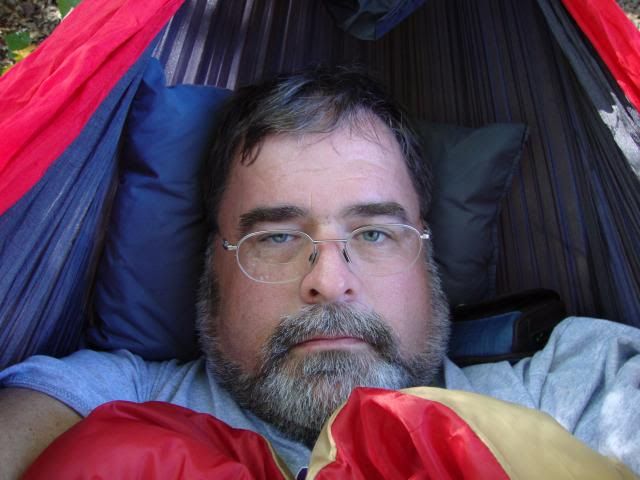
And then I gave it a test drive in the den floor...
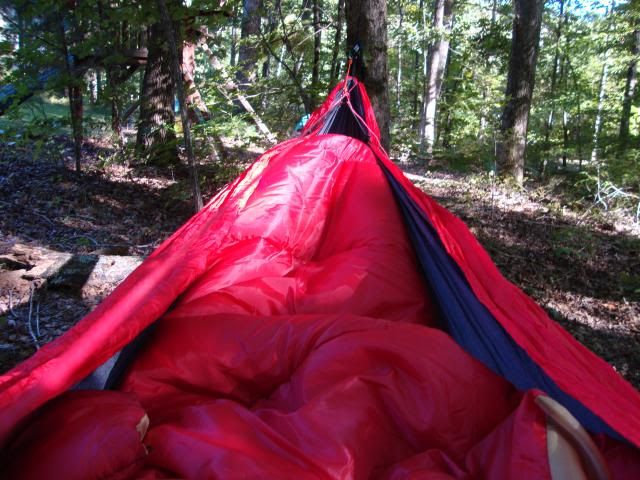
...and was quite pleased...now I need to give it a proper test drive outside in my ENO...
Hope this will help someone who doesn't have a lot of sheckels to spend on a TQ but still would like to stay warm and comfortable in their hammock...


 Reply With Quote


Bookmarks