Page 2 of 2 FirstFirst 12
Results 11 to 15 of 15
  1. #11
    Senior Member Detail Man's Avatar
    Join Date
    Aug 2010
    Location
    Knoxville, TN
    Hammock
    DIY or Bonefire Whisper
    Tarp
    DIY Silpoly
    Insulation
    Incubator, Burrow
    Suspension
    Bonefire Deluxe
    Posts
    889
    Images
    5
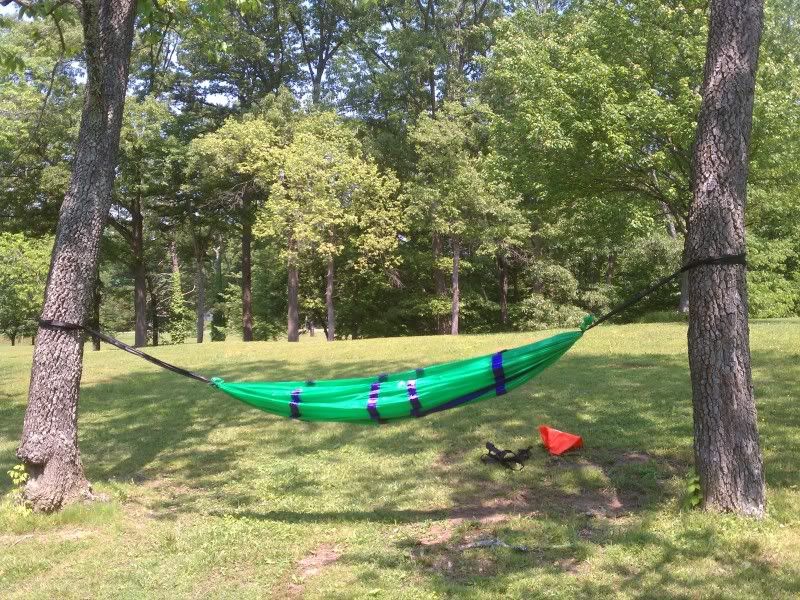
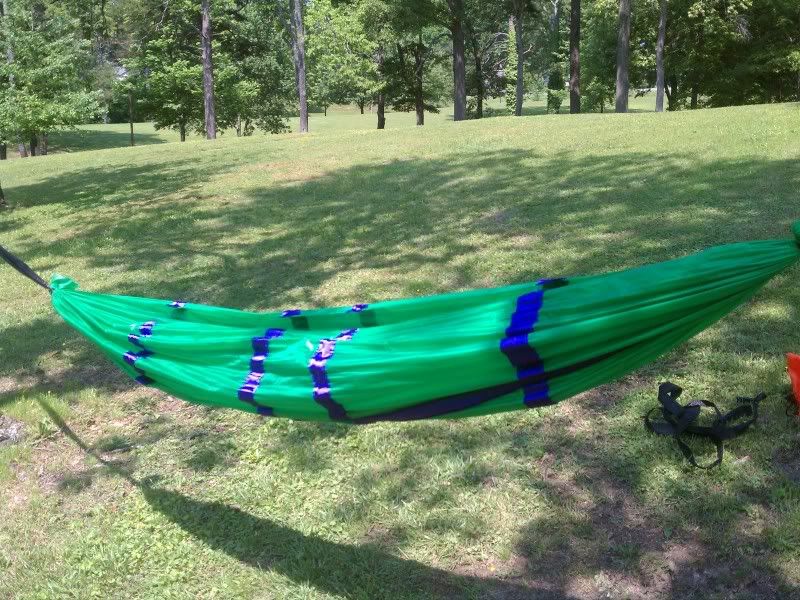
    Good job on trying something different. That's how new things are born. It looks like your hammock may be a bit narrow. I'm not sure how wide your fabric was when you started, but most folks go with about 60" wide. That way you can lay on the diagonal and be flater.

    Keep up the good work.

  2. #12
    Senior Member Jazilla's Avatar
    Join Date
    Oct 2006
    Location
    Carencro, Louisiana
    Hammock
    Dream Hammock
    Tarp
    Superfly
    Insulation
    20* zepplin/DIY TQ
    Suspension
    Straps/Buckles
    Posts
    1,990
    Images
    108
    This project isn't a total loss. You could always use it as a gear hammock.
    Yosemite Sam: Are you trying to make me look a fool?
    Bugs: You don't need me to make you look like a fool.
    Yosemite Sam: Yer deerrrnnn right I don't!

  3. #13
    Senior Member timabababaluka's Avatar
    Join Date
    Sep 2010
    Location
    Clovis, CA
    Hammock
    DIY gathered end
    Tarp
    9x10 tyvek
    Insulation
    ww blue ccf pad
    Suspension
    whoopies & toggles
    Posts
    921
    Images
    11
    As long as you use your experiences as learning opportunities, there's no such thing as failure. My first DIY hammock (before I discovered this forum) was a queen sized floral-print bedsheet and a bunch of 550 paracord. My head sat just below one knot, my feet a foot above the other, and at the end of the night my butt was dragging the ground. Needless to say, I learned A LOT from that first hang.

    The great thing about this forum is there are volumes of personal experiences that you can learn from so that you don't have to find out the hard way (and +1 on JohnSawyer's advise about checking out knotty's sticky on making your own gathered end hammock--it's become part of the DIY canon for me). Don't get me wrong, there are still plenty of "the hard way" experiences to learn from ("the great hammock-stand fiasco" of last weekend comes readily (and painfully) to mind ).

    Keep on keeping-on! (I need stuff to read ).
    Last edited by timabababaluka; 05-09-2011 at 09:37. Reason: incomplete parenthetical insertion and comma drama
    You're gonna need a bigger hammock

  4. #14
    Member SteveToTheO's Avatar
    Join Date
    May 2011
    Location
    Knoxville, TN
    Hammock
    DIY DL Gathered End
    Tarp
    ENO DryFly
    Insulation
    Mummy Bag
    Suspension
    DIY Whoopie Slings
    Posts
    63
    I took out one of the parallel support strips this morning and it hung much better. Ive now got 2 hours worth of hang time. I went to the park next to my house this morning, set up and took a nap. It was actually pretty comfy on my side (which is how I normally sleep. The supports gave me something solid to lean against but they do squeeze the shoulders when laying on your back. It was a major improvement over yesterday. Im still planning on making a DL so I can get a pad but until I gather up the material for that Im going to continue to play with this one.

    It started out as a 66 inch wide piece that was 3.99 a yard.

    http://cgi.ebay.com/New-Kelly-Green-...item27b190a699

    Im thinking that it seems like I need wider material due to those straps. Like I said it puts a squeeze on the whole length of the hammock. here are some pictures of todays event.


    I found out that your straps need to be closer to the same height. I kept sliding towards the low end of the hammock. Also I doubled the straps going to the tree and didnt end up sinking to the ground over time like yesterday. Still working with the end of the hammock just tied in a knot and the strap in a larks head (<- not sure if thats the correct name of the knot) right before the knot in the end of the hammock. Seems to work ok for now.

    Steve-Has-Now-Hung-O

  5. #15
    Senior Member JohnSawyer's Avatar
    Join Date
    Sep 2009
    Location
    San Diego, CA
    Hammock
    WB RidgeRunner
    Tarp
    8x10 DIY (speer)
    Insulation
    KAQ Lost River
    Suspension
    Straps
    Posts
    4,631
    Images
    108
    Looks to me like you have it hung way too tight... a droopy hammock is a comfy hammock... If you get rid of the knots, and whip the ends, the hammock will be longer, and more comfortable, too.

    An easy and popular method is in this thread: http://www.hammockforums.net/forum/s...ad.php?t=15205

    Add a structural ridgeline: A piece of paracord or other line across the top of the hammock, between the whipped ends... Make it about 10% shorter than the fabric length and adjust from there... play around and you'll find the sweet spot. I like my hammock so droopy, there's about 2'-3' between the ridgeline and the low-spot in the middle. Don't forget to hang your foot-end about 6" higher than the head-end...

    Keep playing!
    "Do or do not, there is no try." -- Yoda


  • + New Posts
  • Page 2 of 2 FirstFirst 12

    Tags for this Thread

    Bookmarks

    Posting Permissions

    • You may not post new threads
    • You may not post replies
    • You may not post attachments
    • You may not edit your posts
    •