


Originally Posted by packman9000

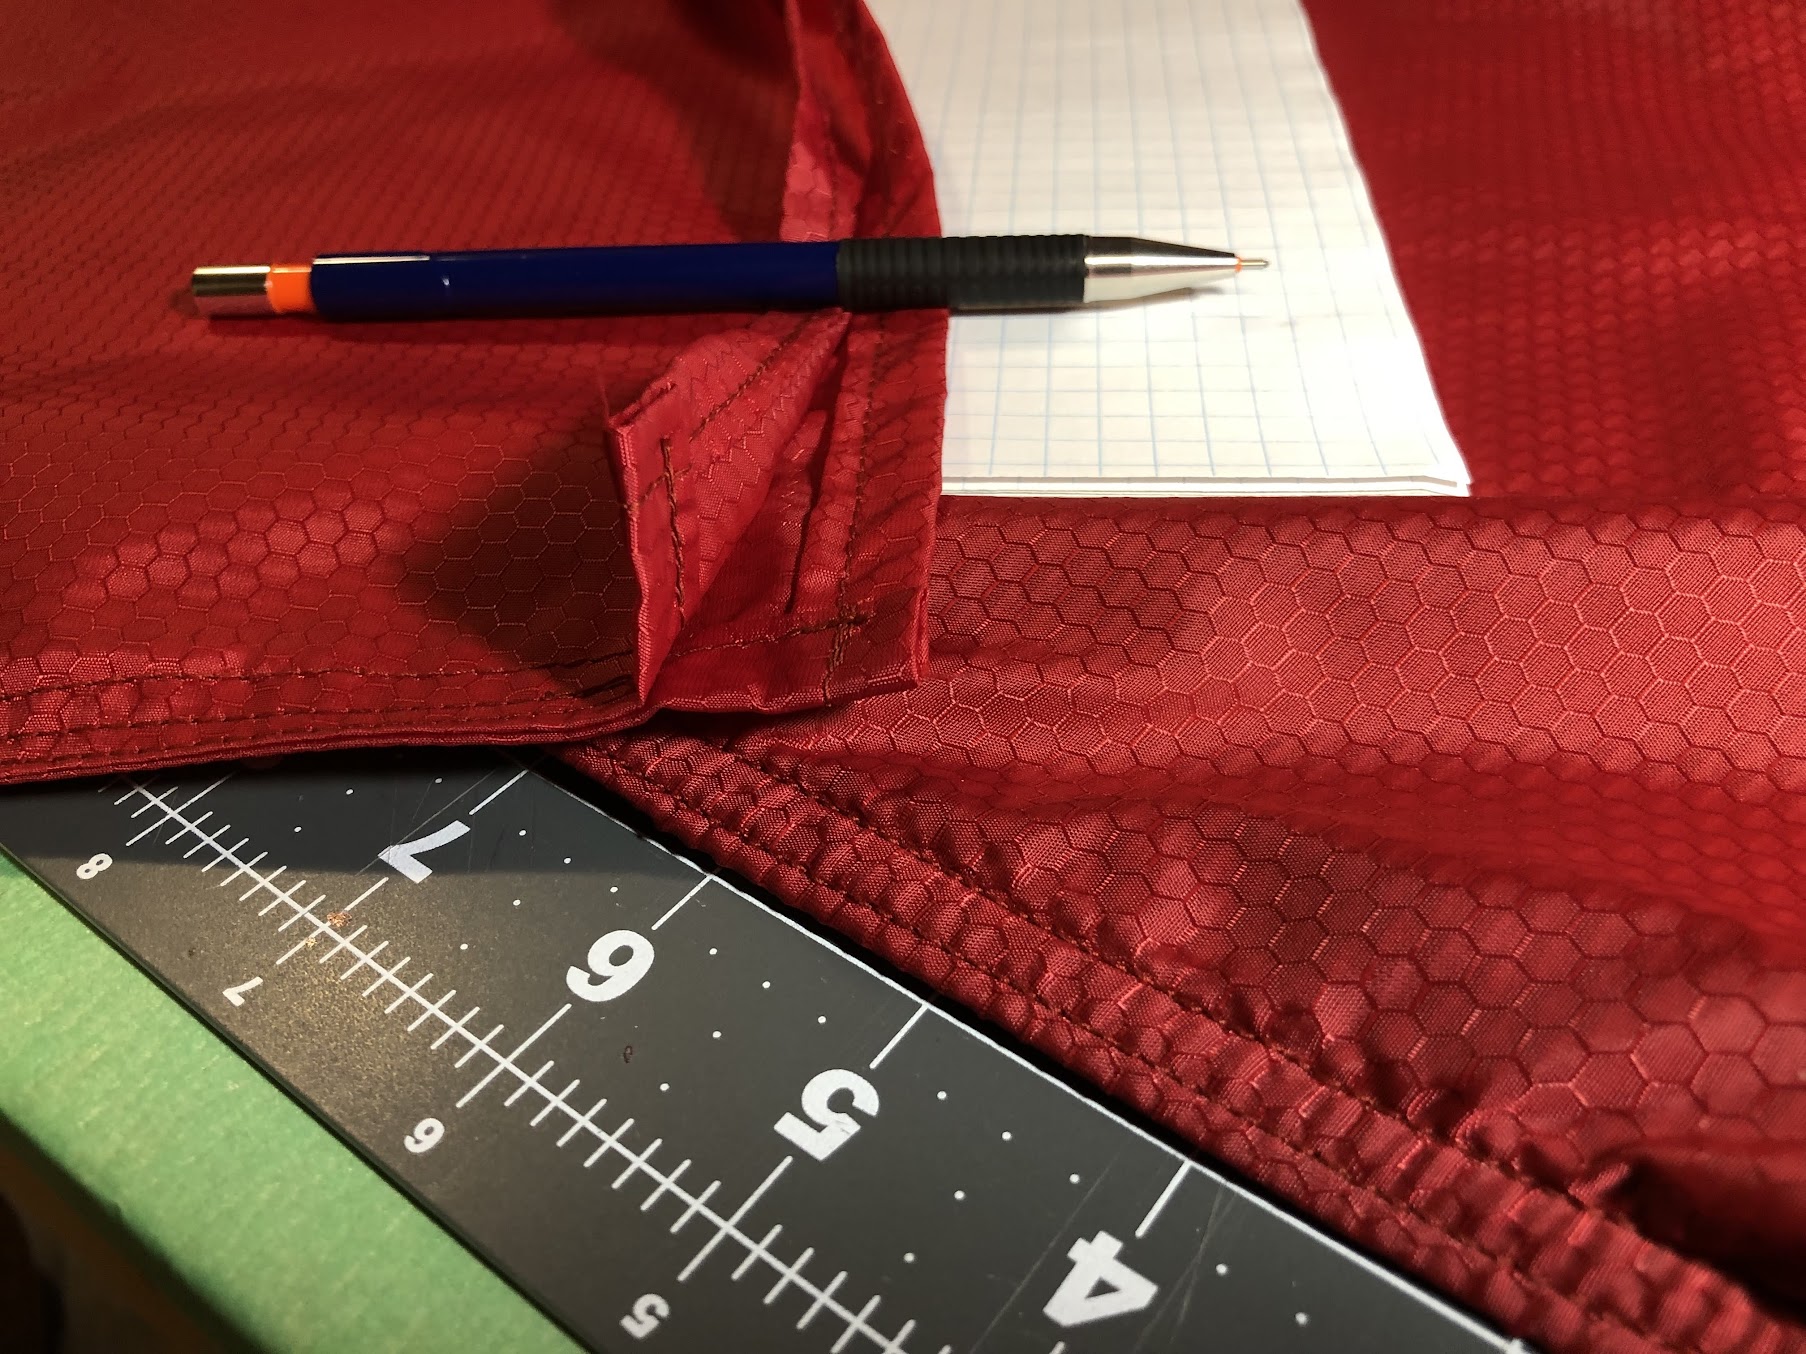
I plan to cover that question as the build progresses, it is actually attached to the outside of the webbing hem ... sorta. There are places it isn't, much easier to just wait for that part and then if I haven't answered this question, ask again.
Brian

 Reply With Quote


Bookmarks