Finally finished mine over the weekend (First DIY Quilt Project), and well very close on the UQ. All supplies from Rip Stop.
TQ (Have the top corners tucked under, pardon if it looks weird): Seam ripped across to just before two vertical channels, cut the vertical channels off and seem ripped them horizontally, then migrating the down and matching the width of the quilt. I sewed both of the vertical channels to the bottom to extend the length of the underquilt. I added a piece of fabric, 1.9, to the bottom and used that for the channel as the fabric of the actual quilt is somewhat delicate and wanted a little extra support for normal wear when drawing in the footbox. I then added small grosgrain tabs to the back of the underquilt and made snaps using KamSnaps.
16 oz packed weight
Attachment 128014
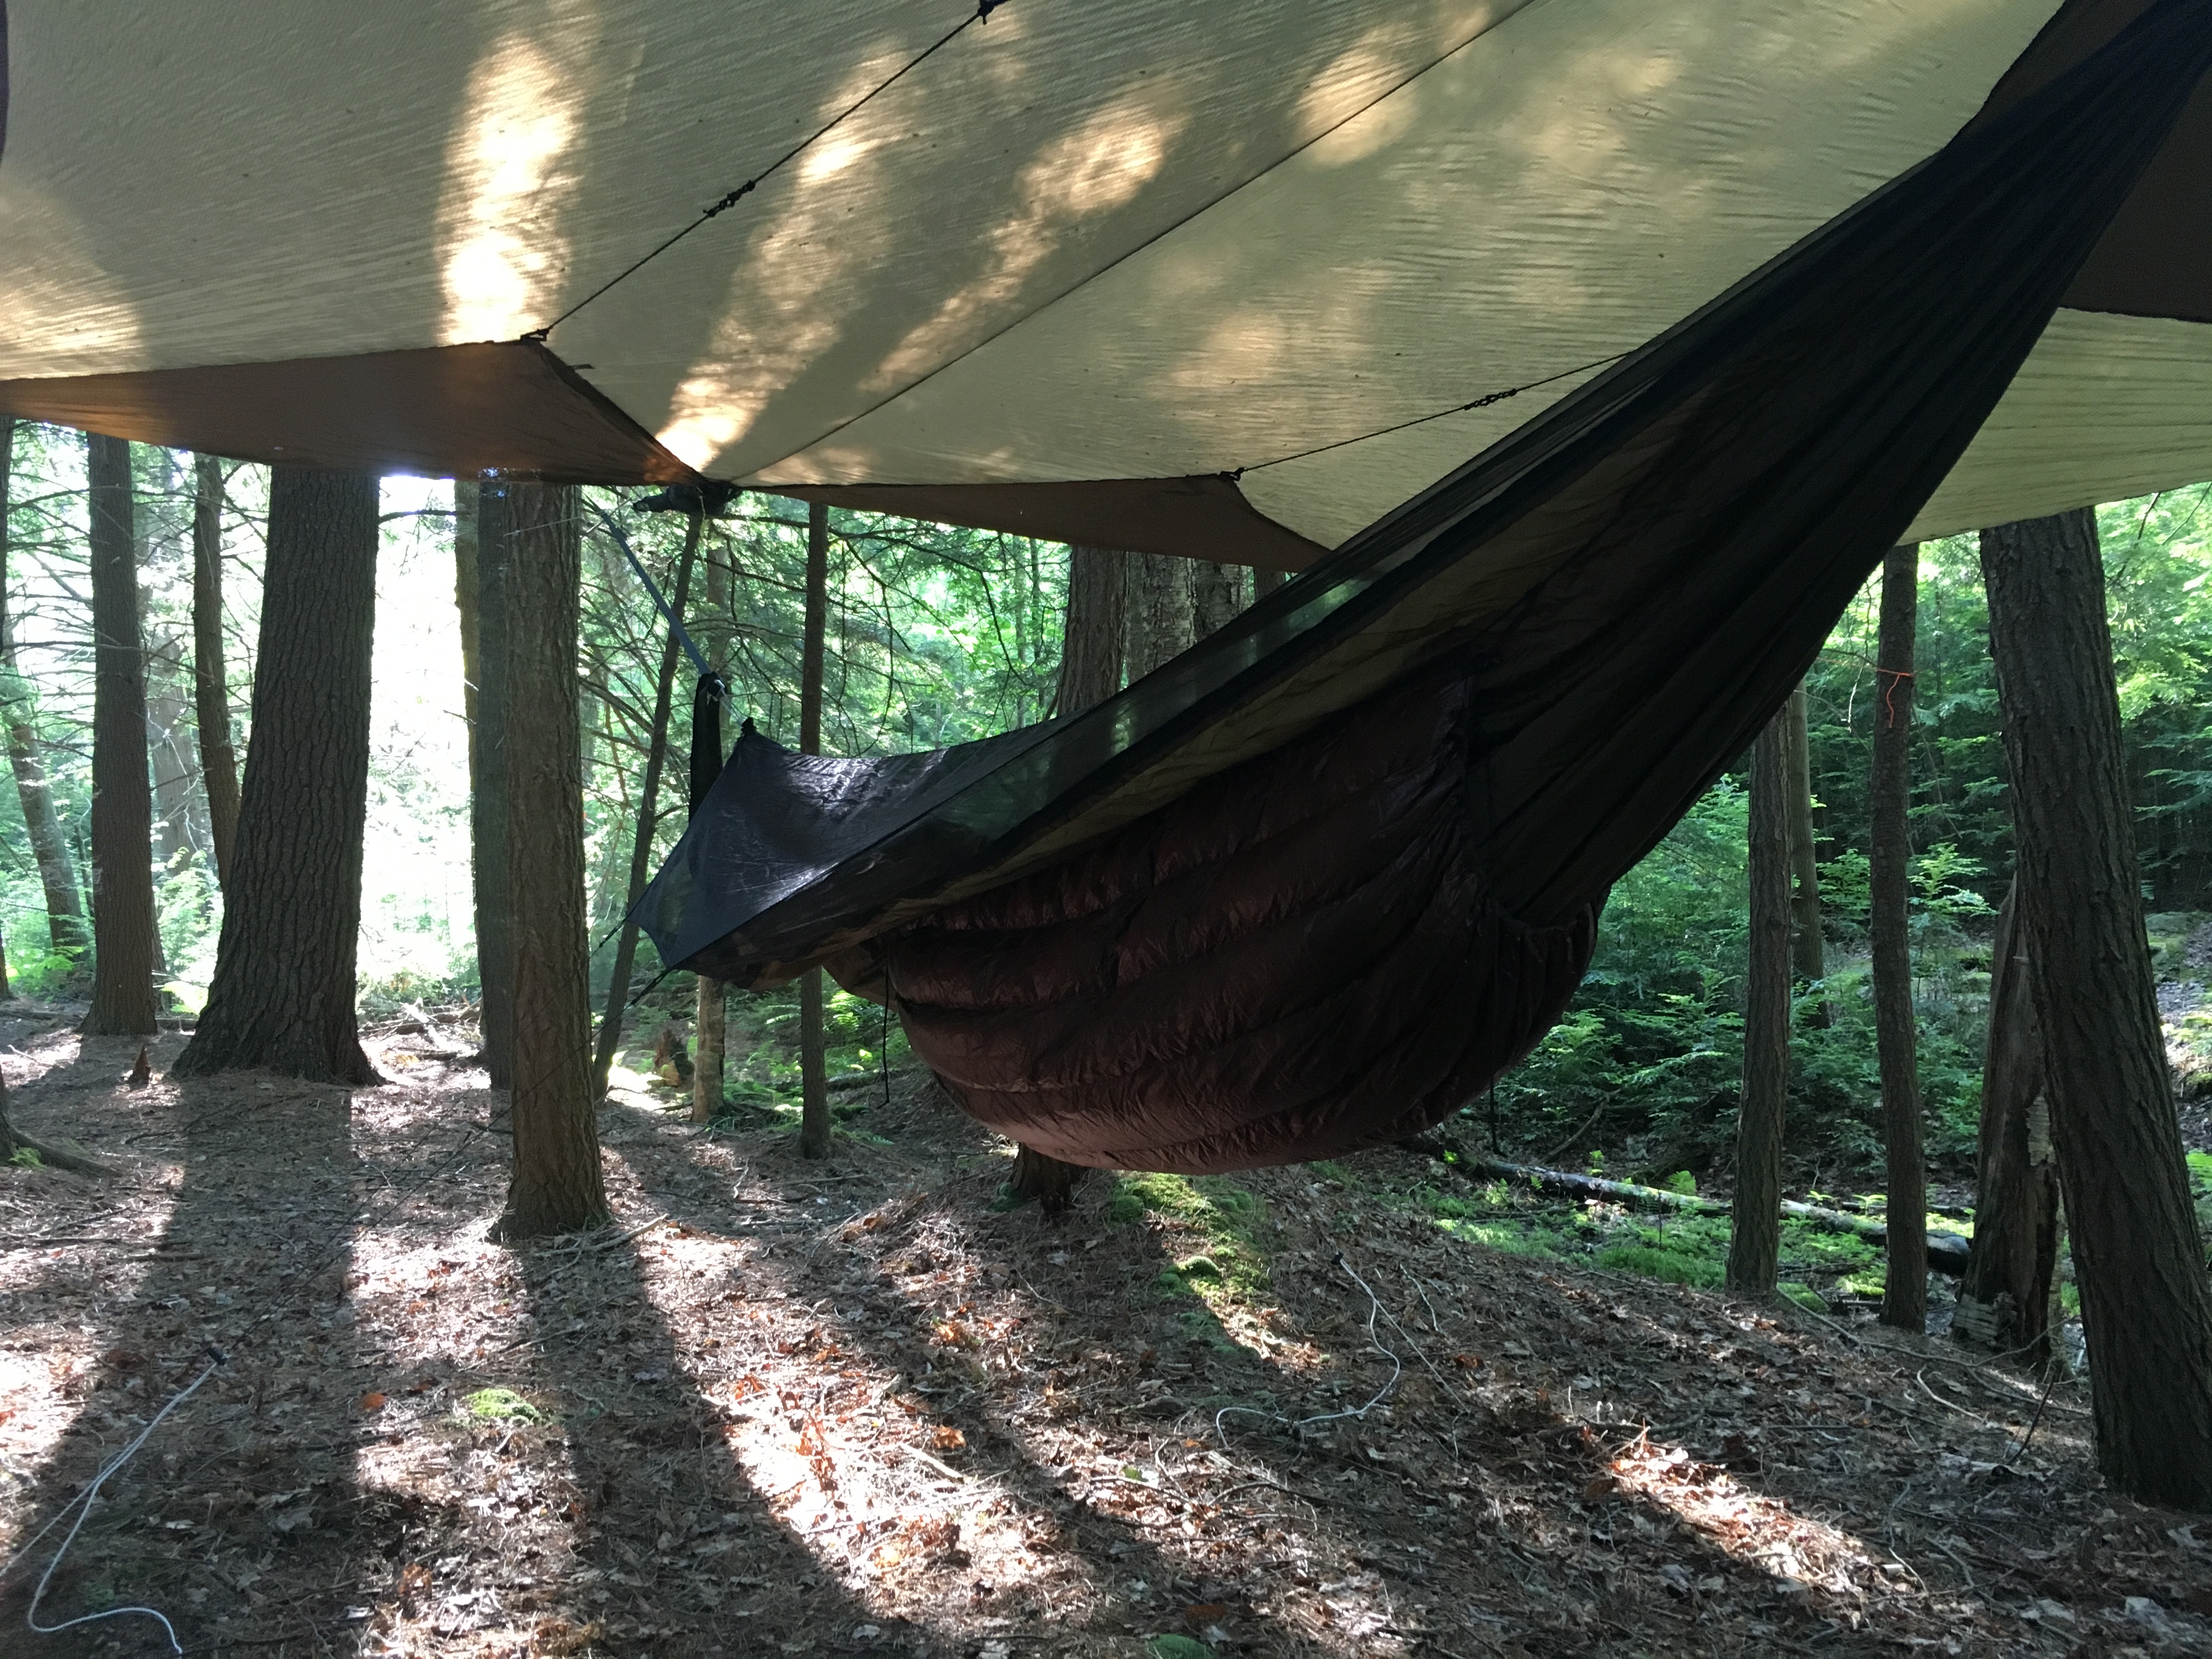
UQ (Shiny side down) : I used the dimensions of the hammock gear Phoenix (52x45) and tried to mimic the suspension of the incubator. I seam ripped the horizontal channels as I wanted vertical baffles. I then removed baffles (cant remember how many) and dispersed the down from those baffles into the remaining ones equally. After, the down was migrated to the bottom and I sewed a stitch across the quilt to at 53 inches, then rolling and sewing again. Added two grosgrain channels to the sides, used 1.9 for the cinch channels on the ends and secondary suspension tabs which i still have to add the prusik knots. Used 1/8 shock cord for all channels but still have to hone in on the length needed so i will cut off some of the main suspension once I get it hung up.
15.6 oz - packed weight before cutting shock cord
Attachment 128011
Attachment 128015
Found two more quilts at Costco near me last week, the last two! so i am going to try a few other things with them.


 Reply With Quote


Bookmarks